
How to Screen Record on Mac: 4 Free Methods (2026 Guide)
Need to record your Mac screen for a tutorial, demo, or bug report? You're in the right place.
Mac includes powerful screen recording tools that most users don't know about. Whether you're using a MacBook Air, MacBook Pro, iMac, or Mac Mini running macOS Sonoma or Sequoia, you can start recording in under 60 seconds with zero downloads.
This guide covers four free methods to record your screen on Mac, from the fastest built-in option to browser-based tools that offer instant sharing. We'll help you choose the right method for your specific needs.
Quick Start: The Fastest Way to Screen Record on Mac
If you're in a hurry, here's the fastest method:
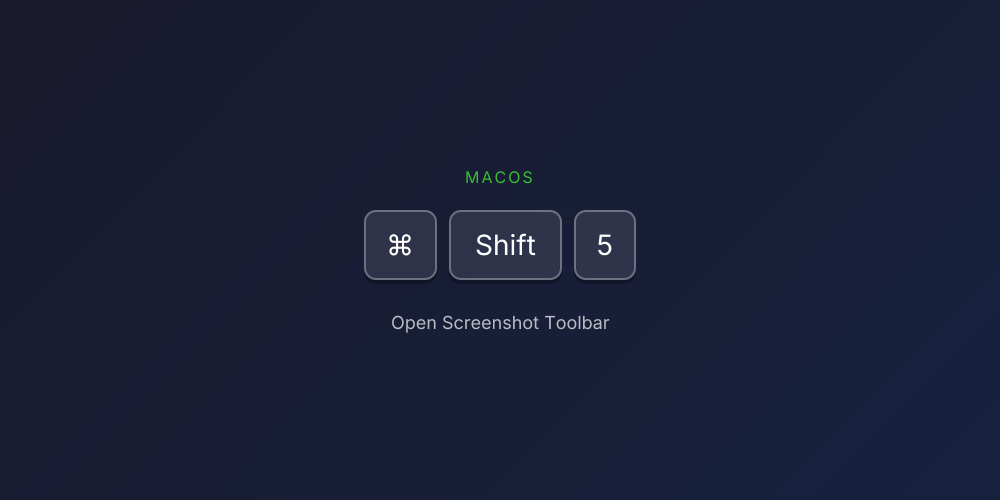
- Press Command+Shift+5 on your keyboard
- Click Record Entire Screen or Record Selected Portion
- Click Record to start
- Click the Stop button in the menu bar when done
Your recording saves to the Desktop automatically. That's it.
Want more control, audio options, or instant sharing? Keep reading for all four methods.
Method 1: Screenshot Toolbar (Command+Shift+5)
The Screenshot Toolbar is the quickest way to record your screen on Mac. Introduced in macOS Mojave (2018), it's available on all modern Macs and requires no app to open.
How to Use the Screenshot Toolbar
Step 1: Press Command+Shift+5 to open the toolbar at the bottom of your screen.
You'll see options for screenshots (left side) and screen recording (right side).
Step 2: Choose your recording type:
- Record Entire Screen - Captures everything on your display
- Record Selected Portion - Lets you drag to select a specific area
Step 3: Click Options to configure:
- Save to: Choose Desktop, Documents, Clipboard, or custom folder
- Timer: Set a 5 or 10-second delay before recording starts
- Microphone: Select your mic to record voiceover (or None for silent)
- Show Mouse Clicks: Highlights clicks in your recording
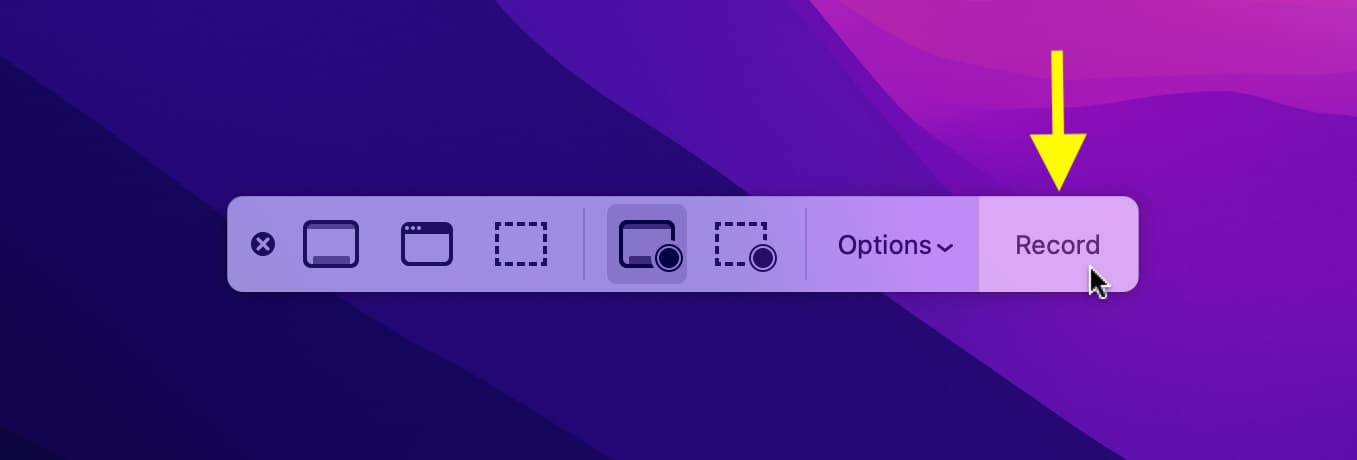
Step 4: Click Record to begin capturing.
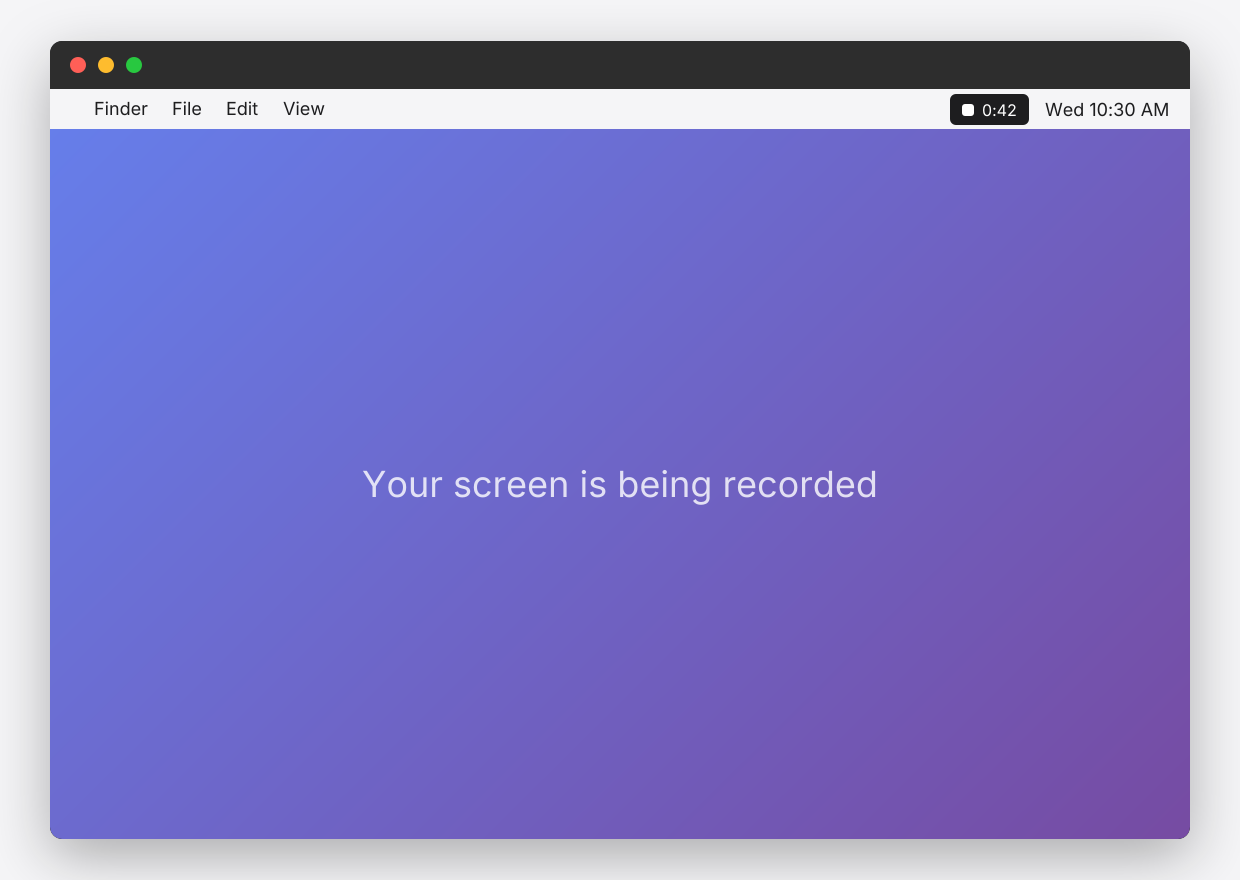
Step 5: When finished, click the Stop button in the menu bar (top right), or press Command+Control+Escape.
Your recording appears as a thumbnail in the corner of your screen. Click it to preview, trim, or share.
Screenshot Toolbar Pros and Cons
Pros:
- Fastest way to start recording (one keyboard shortcut)
- No app installation required
- Built into macOS (free forever)
- Includes basic trimming in Quick Look
- No watermarks or time limits
Cons:
- Cannot record system audio (only microphone)
- No editing beyond basic trimming
- No instant cloud sharing
- Recordings save locally (must upload manually to share)
Best For
Quick screen captures when you need to record something right now without any setup.
Method 2: QuickTime Player
QuickTime Player has been the go-to screen recording tool for Mac users for over a decade. While the Screenshot Toolbar is faster for quick recordings, QuickTime offers more control and a familiar app-based interface.
How to Record Screen with QuickTime Player
Step 1: Open QuickTime Player from your Applications folder or Spotlight search.
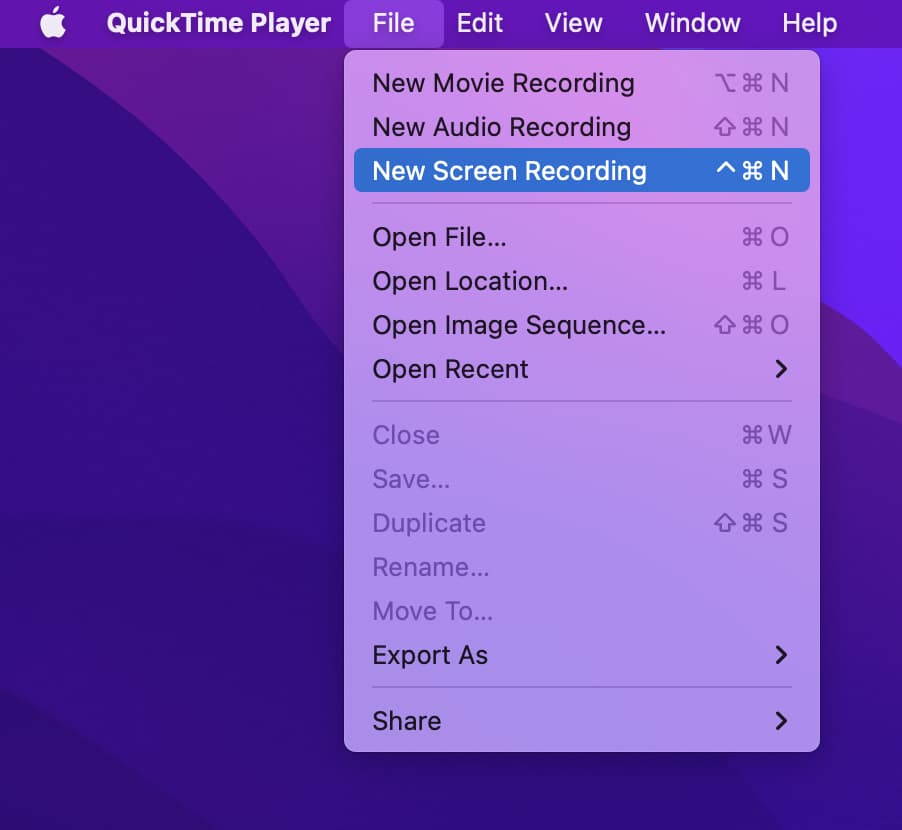
Step 2: In the menu bar, click File > New Screen Recording.
Step 3: A recording toolbar appears. Click the dropdown arrow next to the record button to configure:
- Select your microphone for audio
- Choose to show mouse clicks in the recording
Step 4: Click the Record button.
- To record the entire screen, click anywhere
- To record a portion, drag to select the area, then click Start Recording
Step 5: Click the Stop button in the menu bar when finished.
Step 6: QuickTime opens your recording for preview. Go to File > Save to save it, or File > Export As to choose a different quality/format.
Recording iPhone or iPad Screen with QuickTime
QuickTime can also record your iOS device screen via USB:
- Connect your iPhone or iPad to your Mac with a cable
- Open QuickTime Player
- Click File > New Movie Recording
- Click the dropdown arrow next to the record button
- Select your iPhone/iPad under both Camera and Microphone
- Your device screen appears in QuickTime - click Record
This is useful for app demos, mobile tutorials, or recording gameplay.
QuickTime Pros and Cons
Pros:
- Pre-installed on every Mac
- Can record iOS devices via USB
- Multiple export quality options
- Familiar app interface
- No watermarks or time limits
Cons:
- Cannot record system audio without third-party extensions
- No built-in annotation or editing tools
- No cloud sharing (local files only)
- Large file sizes at high quality
Best For
Users who prefer an app-based workflow, or anyone needing to record iPhone/iPad screens.
Method 3: Kommodo (Browser-Based with Instant Sharing)
For professional use—tutorials, demos, team communication—you'll want more than basic recording. Kommodo is a browser-based screen recorder that combines Mac-quality recording with instant sharing and no time limits.
Unlike built-in Mac tools, Kommodo generates a shareable link the moment you stop recording. No uploading to Google Drive, no emailing large files, no waiting.
How to Record Screen with Kommodo on Mac
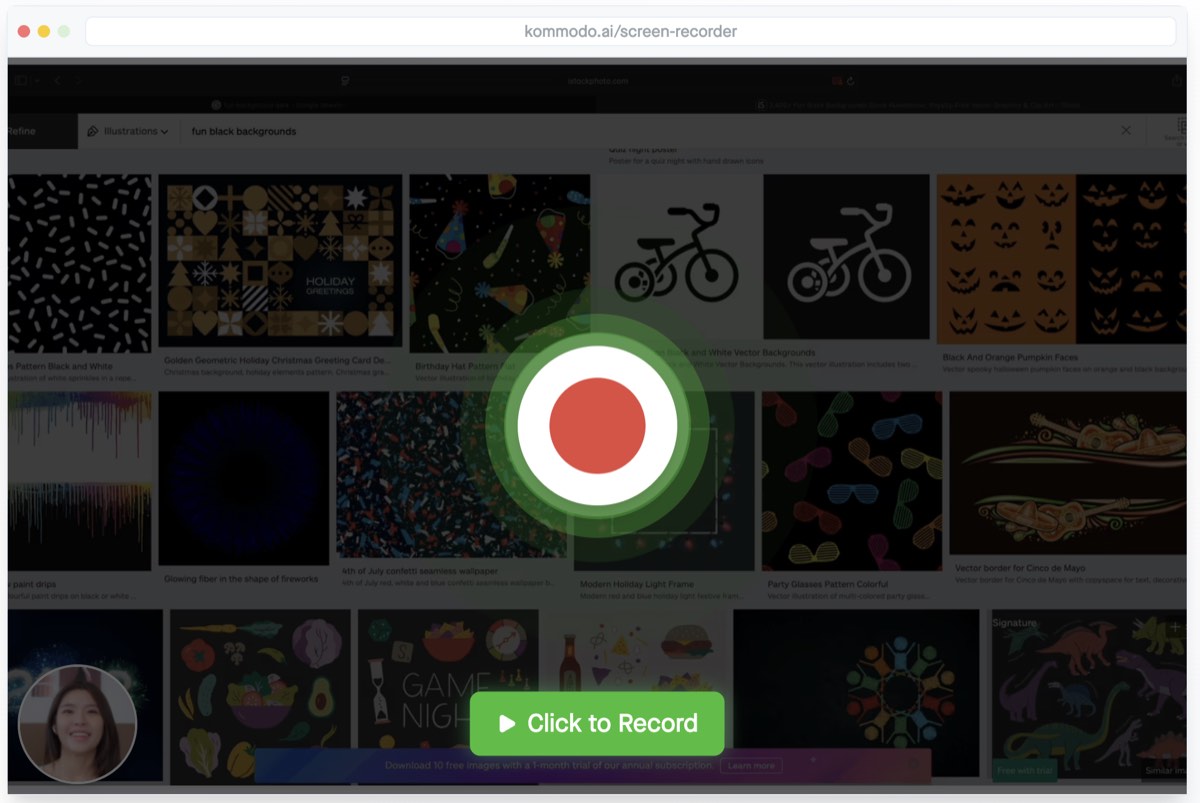
Step 1: Visit kommodo.ai/screen-recorder in Chrome, Edge, or Firefox.
Step 2: Click the Record button.
Step 3: Choose what to record:
- Entire Screen - Your full Mac display
- Window - A specific application window
- Chrome Tab - A single browser tab (with tab audio)
Step 4: Enable or disable your webcam and microphone as needed.
Step 5: Click Share to start recording.
Step 6: Click Stop when finished.
Your video is instantly ready with a shareable link. Copy the link and send it to anyone—no account required to view.
Why Use Kommodo Over Built-in Mac Tools?
| Feature | Screenshot Toolbar | QuickTime | Kommodo |
|---|---|---|---|
| Recording time | Unlimited | Unlimited | 60 min (free) |
| System audio | No | No | Yes (tab audio) |
| Webcam overlay | No | No | Yes |
| Instant sharing link | No | No | Yes |
| Cloud storage | No | No | Yes |
| No download required | Yes | Yes | Yes |
| Annotations | No | No | Yes (with account) |
Kommodo Pros and Cons
Pros:
- Instant shareable link (no uploading)
- Records system audio from browser tabs
- Webcam overlay for presentations
- Works in any browser, no installation
- Unlimited recordings on free plan
- No watermarks
Cons:
- 60-minute limit per recording (browser version)
- Requires internet connection
- Full features require free account signup
Best For
Professional screen recordings you need to share instantly—tutorials, product demos, bug reports, async team communication, and client feedback. See how Kommodo compares to Loom for async video.
Method 4: OBS Studio (Advanced Recording)
For power users who need complete control over their recordings—multiple sources, custom layouts, streaming capabilities—OBS Studio is the free, open-source option trusted by YouTubers and professional content creators.
OBS has a steeper learning curve than other options, but it's the most powerful free screen recording software available for Mac.
How to Record Screen with OBS on Mac
Step 1: Download and install OBS Studio from obsproject.com.
Step 2: On first launch, run the Auto-Configuration Wizard and select "Optimize for recording."
Step 3: In the Sources panel, click + and select macOS Screen Capture.
Step 4: Choose your display and click OK.
Step 5: (Optional) Add additional sources:
- Video Capture Device for webcam
- Audio Input Capture for microphone
- Audio Output Capture for system audio (requires additional setup on Mac)
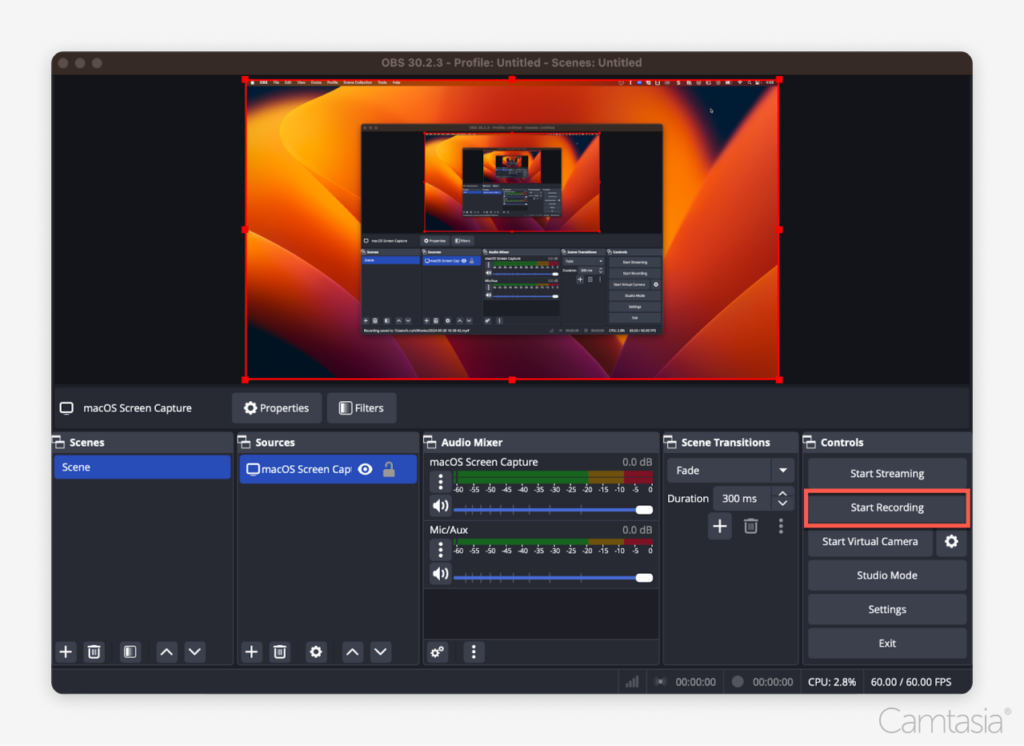
Step 6: Click Start Recording in the Controls panel.
Step 7: Click Stop Recording when done. Videos save to your Movies folder by default.
Recording System Audio with OBS on Mac
macOS doesn't allow apps to capture system audio by default. To record audio from apps and videos:
- Install a free audio routing tool like BlackHole
- Set up a Multi-Output Device in Audio MIDI Setup
- Configure OBS to capture from BlackHole
This adds complexity but enables full system audio recording—something the built-in Mac tools can't do.
OBS Pros and Cons
Pros:
- Completely free and open-source
- Record multiple sources simultaneously
- Full control over quality settings
- Live streaming to YouTube, Twitch, etc.
- Scene transitions and layouts
- No watermarks or limits
Cons:
- Steep learning curve
- Requires installation and setup
- No built-in sharing (local files only)
- System audio requires extra configuration on Mac
- Resource-intensive for older Macs
Best For
YouTubers, streamers, and technical users who need advanced features like multiple camera angles, custom layouts, or live streaming.
Comparison: Which Mac Screen Recording Method Should You Use?
| Need | Best Method |
|---|---|
| Quick capture, no setup | Screenshot Toolbar (Cmd+Shift+5) |
| Recording iPhone/iPad | QuickTime Player |
| Instant sharing | Kommodo |
| Webcam + screen | Kommodo |
| System audio | Kommodo (tab audio) or OBS |
| Professional editing | Record with any tool, edit in separate software |
| Live streaming | OBS Studio |
| Maximum control | OBS Studio |
How to Record Your Screen on Mac with Audio
A common frustration: you record a great tutorial, only to realize there's no audio. Here's how to capture audio with each method:
Microphone Audio (Your Voice)
All methods support microphone recording:
- Screenshot Toolbar: Click Options > select your microphone
- QuickTime: Click dropdown arrow > select microphone
- Kommodo: Click microphone icon before recording
- OBS: Add Audio Input Capture source
System Audio (Sounds from Apps)
Recording sounds from videos, games, or apps is trickier on Mac:
- Screenshot Toolbar: Not supported
- QuickTime: Not supported
- Kommodo: Supported when recording a browser tab (choose "Share tab audio")
- OBS: Requires BlackHole or similar audio routing software
For most users, Kommodo's tab audio capture is the easiest way to record system audio without complex setup.
Tips for Better Mac Screen Recordings
Before Recording
- Close unnecessary apps to reduce clutter and improve performance
- Turn off notifications (Focus mode or Do Not Disturb)
- Clean your desktop if it will be visible
- Test your microphone audio levels
- Close browser tabs you don't need (they appear when sharing "Entire Screen")
During Recording
- Speak clearly and at a steady pace
- Move your cursor deliberately—quick movements are hard to follow
- Pause briefly before and after important steps
- Use keyboard shortcuts when possible (they're easier to explain)
- If you make a mistake, pause, then restart that section (you can trim later)
After Recording
- Review your recording before sharing
- Trim dead air at the beginning and end
- Consider adding captions for accessibility
- Use a descriptive filename or title
Troubleshooting Common Mac Screen Recording Issues
"Screen Recording is not permitted"
macOS requires permission for screen recording. Go to System Settings > Privacy & Security > Screen Recording and enable the app you're using.
Recording is laggy or choppy
- Close other applications to free up resources
- Lower the recording resolution if available
- For OBS, reduce the output resolution or frame rate
- Ensure your Mac isn't in Low Power Mode
No audio in my recording
- Check that the correct microphone is selected in recording options
- Verify microphone permissions in System Settings > Privacy & Security > Microphone
- Test your mic in another app to confirm it's working
- For system audio, use Kommodo's tab recording or set up BlackHole for OBS
Recording file is too large
- Use a lower resolution (1080p instead of 4K)
- In QuickTime, export as "1080p" or "720p" instead of original quality
- Consider using a video compressor after recording
- For sharing, use Kommodo—it handles compression and hosting automatically
Can't find my recording
- Screenshot Toolbar: Check your Desktop (default) or the location set in Options
- QuickTime: The app prompts you to save; check your recent documents
- OBS: Check Settings > Output > Recording Path (default is Movies folder)
- Kommodo: Your video is in the cloud—check your dashboard or the share link
Frequently Asked Questions
Does Mac have a built-in screen recorder?
Yes! Mac has two built-in screen recording options. QuickTime Player (available on all Macs) lets you record your entire screen or a selected portion. The Screenshot Toolbar (Command+Shift+5) on macOS Mojave and later provides quick access to screen recording without opening any apps. Both are completely free with no time limits or watermarks.
What is the keyboard shortcut to screen record on Mac?
Press Command+Shift+5 to open the Screenshot Toolbar, which includes screen recording options. You can record your entire screen or a selected portion. To stop recording, click the stop button in the menu bar or press Command+Control+Escape.
How do I record my screen on Mac with audio?
To record screen with audio on Mac: Using Screenshot Toolbar (Command+Shift+5), click Options and select your microphone under the Microphone section. For system audio (sounds from apps), you need a third-party tool like Kommodo or OBS Studio, as macOS doesn't natively support recording system audio.
Where do Mac screen recordings save?
By default, Mac screen recordings save to your Desktop. You can change this location in the Screenshot Toolbar (Command+Shift+5) by clicking Options and selecting a different save location like Documents, Clipboard, or a custom folder. QuickTime recordings prompt you to choose a save location when you stop recording.
How long can I screen record on Mac?
There's no time limit for screen recording on Mac using built-in tools. Both QuickTime Player and the Screenshot Toolbar let you record for as long as you have available storage space. A 1-hour recording at standard quality typically uses 2-4GB of disk space.
Can I record my screen and webcam at the same time on Mac?
The built-in Mac tools don't support simultaneous screen and webcam recording. For picture-in-picture recordings with your webcam, use Kommodo (browser-based, no download) or OBS Studio (requires installation). Both are free and let you position your webcam overlay anywhere on screen.
Start Recording Your Mac Screen Now
You now have four free methods to record your screen on Mac:
- Screenshot Toolbar (Command+Shift+5) for quick, no-setup recordings
- QuickTime Player for app-based recording and iOS device capture
- Kommodo for instant sharing with webcam and audio
- OBS Studio for advanced control and streaming
For most users, we recommend starting with the Screenshot Toolbar for quick captures, and Kommodo when you need to share your recording with someone else. The instant link sharing saves significant time compared to downloading, uploading, and sharing manually.
Ready to record? Press Command+Shift+5 right now, or try Kommodo's free screen recorder for instant sharing.
About the author

Related Articles

How to Screen Record on Chromebook: 4 Methods (2026 Guide)
Record your Chromebook screen using the built-in Screen Capture tool (Ctrl+Shift+Show Windows) or browser-based recorders. 4 free methods with step-by-step instructions for students, teachers, and managed devices.

How to Screen Record: Complete Guide for Any Device (2026)
Learn how to screen record on any device. Complete guide for Mac, Windows, iPhone, Android, and Chromebook with free tools and keyboard shortcuts.

12 Best Screen Recorders in 2026 (Free & Paid, Tested)
We tested the 12 best screen recorders head-to-head for teams and solo creators. Compare features, pricing, and honest pros/cons — including free options with AI.