
How to Screen Record on Chromebook: 4 Methods (2026 Guide)
Your teacher assigned a video presentation. Your IT department blocked every app you've tried to install. Sound familiar? Good news: every Chromebook running Chrome OS 89 or later has a built-in screen recorder that works without downloading anything. This guide covers 4 ways to record your Chromebook screen, from the two-second keyboard shortcut to browser-based tools that work even on the most locked-down school devices.
Quick Start: Fastest Way to Record (Chrome OS 89 or Later)
If your Chromebook is running Chrome OS 89 or later, here's the 30-second method:
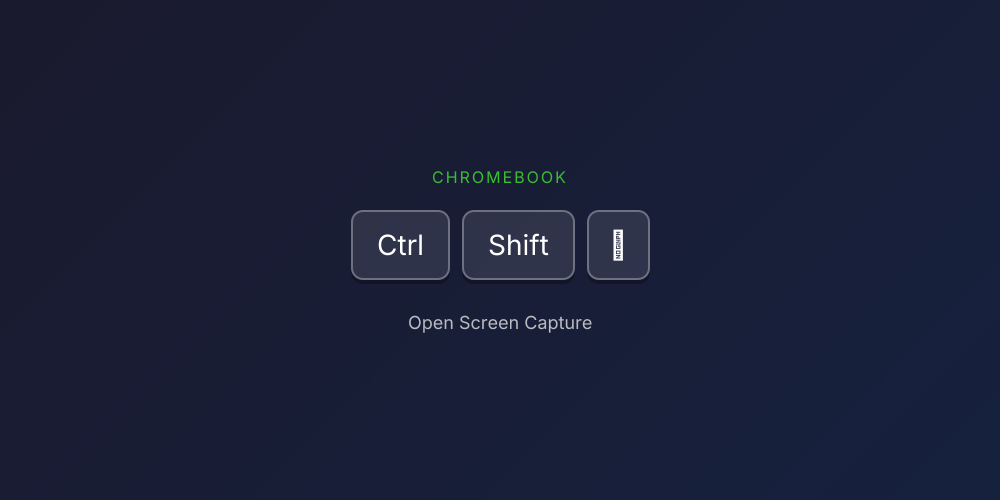
- Press Ctrl + Shift + Show Windows (or Ctrl + Shift + F5)
- Click the video camera icon to switch to recording mode
- Choose full screen, partial, or window
- Click to start recording
- Click Stop in the shelf when done
Your video saves to the Downloads folder as a .webm file. That's it, no app needed.
Want to record with audio? Before step 4, click the Settings gear and enable Microphone or Device Audio.
Chromebook Screen Recorder Comparison Table
Before diving into each method, here's how they compare:
| Method | Price | System Audio | Time Limit | Best For |
|---|---|---|---|---|
| Kommodo | Free | Yes | Unlimited | Instant sharing, no restrictions |
| Screen Capture | Built-in | Yes | Unlimited | Quick recordings |
| Screencast App | Built-in | Yes | Unlimited | Lessons with drawing/transcription |
| Screencastify | Freemium | Yes | 5 min (free) | Simple recordings with webcam |
| ScreenPal | Freemium | No (free) | 15 min (free) | Basic recordings |
Key insight: The built-in tools have no time limits and no watermarks. Third-party extensions often limit free recordings to 5-15 minutes. For unlimited recording with instant sharing, use Kommodo.
Method 1: Kommodo (Browser-Based, No Install)
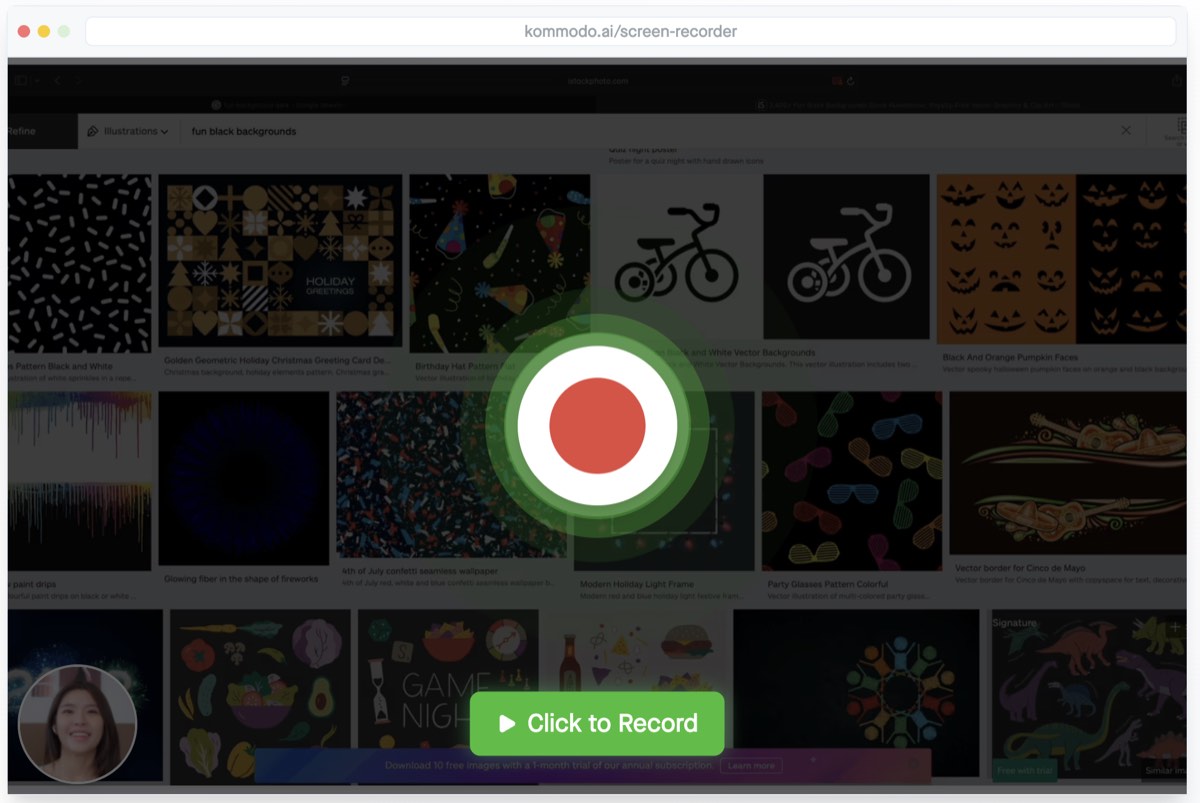
Kommodo is a browser-based screen recorder that works on any Chromebook with Chrome, Edge, or Brave. No software installation required, which makes it perfect for managed school devices.
Why Kommodo?
- Unlimited recording - No time limits on free plan
- No watermarks - Professional results every time
- Instant sharing - Get a link immediately after recording
- AI transcription - Auto-generate captions and summaries
- Works everywhere - Same tool on Chromebook, Mac, and Windows
How to use Kommodo on Chromebook:
- Go to kommodo.ai/screen-recorder
- Click Start Recording
- Choose what to record (entire screen, window, or browser tab)
- Click Share to begin
- Click Stop when finished
- Copy your shareable link
Your recording is instantly saved to the cloud. No file management, no WebM conversion, just copy the link and share. This is especially useful for submitting assignments or sharing with classmates.
Method 2: Built-in Screen Capture (Ctrl+Shift+Show Windows)
The Screen Capture tool is built into every Chromebook running Chrome OS 89 or later. It's the fastest option when you just need to record something quickly.
Pros:
- Already on your Chromebook
- No installation required
- Records full screen, partial area, or specific window
- Supports microphone and system audio
- No time limits or watermarks
Cons:
- Saves as .webm (may need conversion)
- No editing tools
- Files saved locally (manual sharing)
- May be disabled on some managed devices
How to record with Screen Capture:
- Press Ctrl + Shift + Show Windows (the key with a rectangle and two lines)
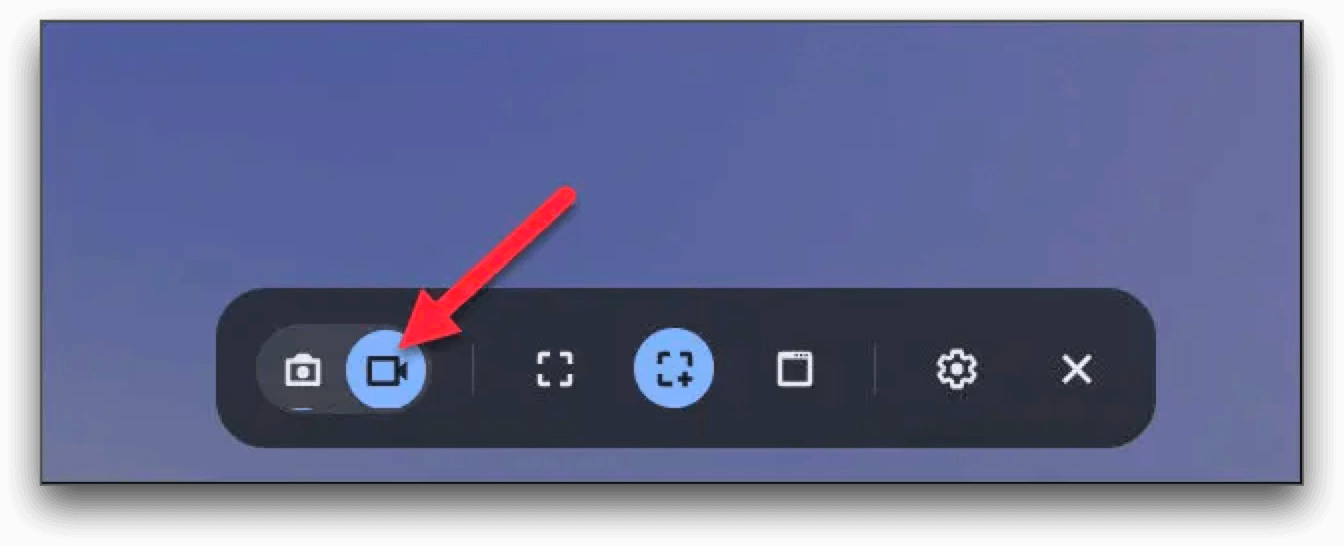
- The Screen Capture toolbar appears at the bottom
- Click the video camera icon to switch to recording mode
- Choose your recording area:
- Full screen - Records everything
- Partial - Drag to select an area
- Window - Click a specific window
- Click the Settings gear to enable audio (Microphone or Device Audio)
- Click anywhere to start recording (or click inside your selection)
- Click the Stop button in the shelf when done
Keyboard shortcuts:
- Open Screen Capture: Ctrl+Shift+Show Windows (or Ctrl+Shift+F5)
- Stop recording: Search+Shift+X or click Stop in shelf
- Take screenshot instead: Ctrl+Show Windows (full) or Ctrl+Shift+Show Windows then drag
Where to find your recording: Open the Files app → Downloads folder. Your recording is saved as Screen recording [date] [time].webm.
Method 3: Screencast App (Chrome OS 104+)
The Screencast app is Google's more advanced recording tool, available on Chromebooks running Chrome OS 104 or later. It's designed for creating educational content with features like drawing on screen and automatic transcription.
Pros:
- Draw and annotate while recording
- Automatic voice transcription
- Built-in editing (trim, add titles)
- Saves directly to Google Drive
- Easy link sharing
Cons:
- Only on Chrome OS 104+
- May be disabled by school administrators
- Recordings stored in cloud only (not local)
- More steps than Screen Capture
How to record with Screencast:
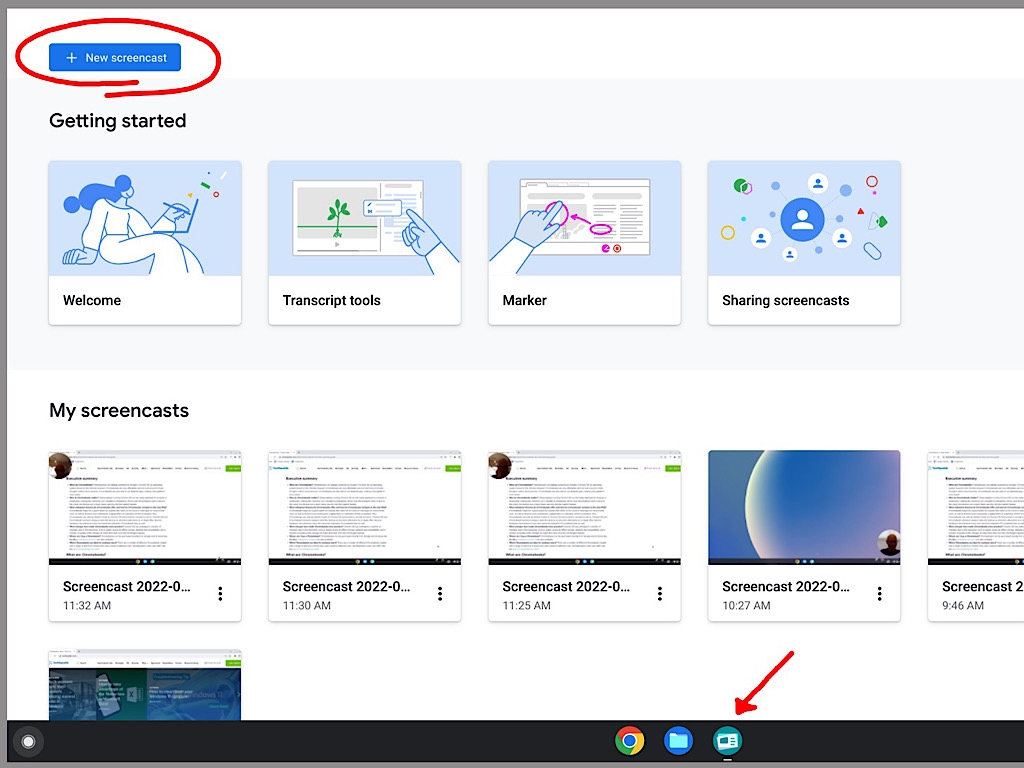
- Open the Screencast app from your app launcher (search for "Screencast")
- Click New Screencast
- Choose your recording area (full screen, window, or region)
- Enable your microphone if you want voice narration
- Click Record
- Use the Marker tool in the shelf to draw on screen while recording
- Click Stop when finished
- Edit your recording (optional): trim, add title, review transcript
- Click Share to get a link
When to use Screencast: Creating lessons, tutorials, or any video where you need to highlight things on screen. The transcription feature is great for accessibility and searching through your recordings later.
Note for school Chromebooks: If you don't see Screencast in your app launcher, your administrator may have disabled it. Contact your IT department or use Kommodo as an alternative.
Method 4: Screencastify (Chrome Extension)
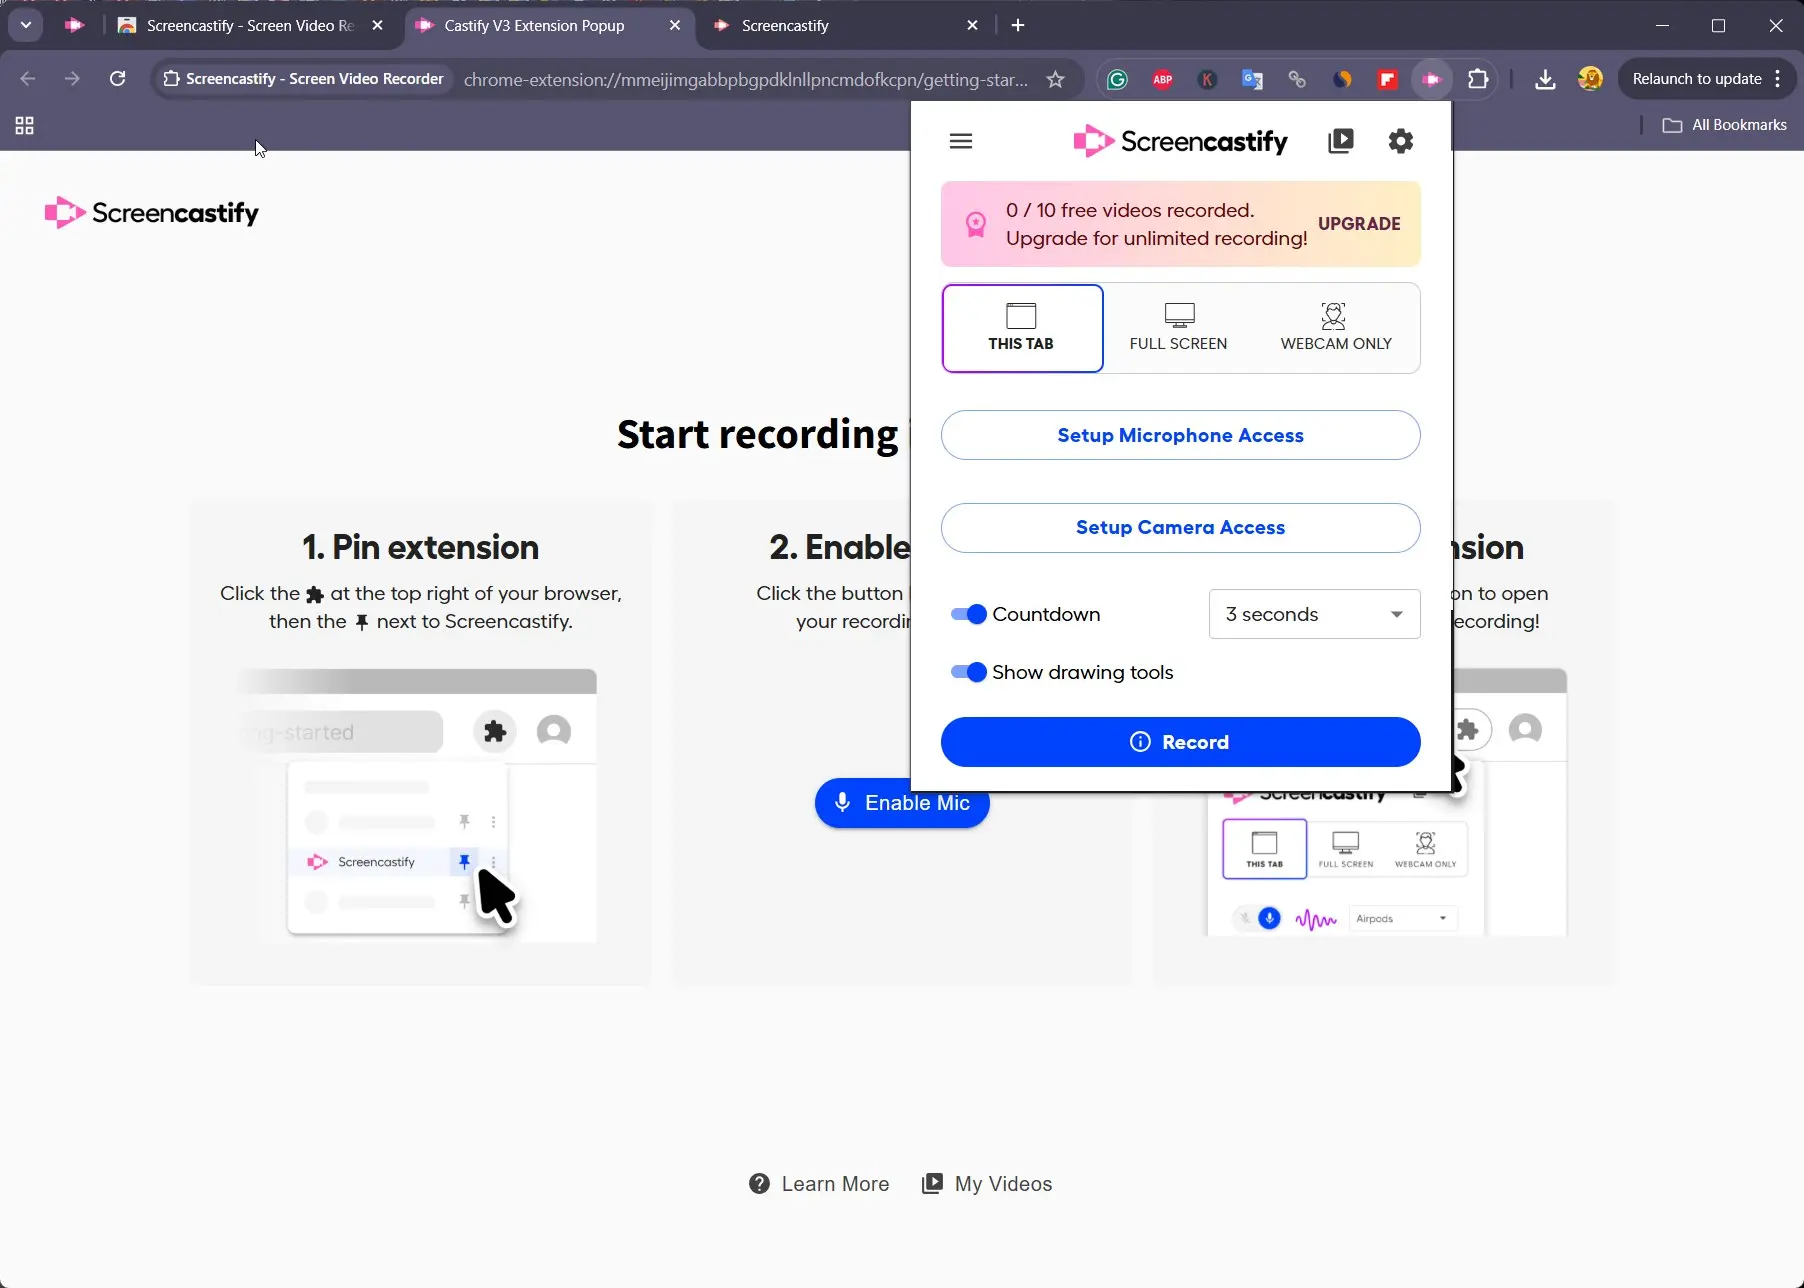
Screencastify is a popular Chrome extension for screen recording, especially in education. It adds webcam overlay and basic editing features.
Pros:
- Easy webcam overlay (picture-in-picture)
- Records system audio
- Simple editing tools
- Direct upload to Google Drive or YouTube
Cons:
- 5-minute limit on free plan
- Watermark on free recordings
- Requires Chrome extension installation
- May be blocked on managed Chromebooks
How to record with Screencastify:
- Install from Chrome Web Store
- Click the Screencastify icon in your browser toolbar
- Choose Browser Tab, Desktop, or Webcam Only
- Enable microphone and system audio as needed
- Click Record
- Click the Screencastify icon again to stop
- Edit and share from the Screencastify dashboard
Free vs. paid: The free version limits you to 5-minute recordings with a watermark. Paid plans ($49/year) remove these limits. For educators, check if your school has a Screencastify license.
Kommodo vs. Screencastify: Kommodo offers unlimited recording time and no watermarks on the free plan. Screencastify adds webcam overlay and basic editing, but limits free recordings to 5 minutes.
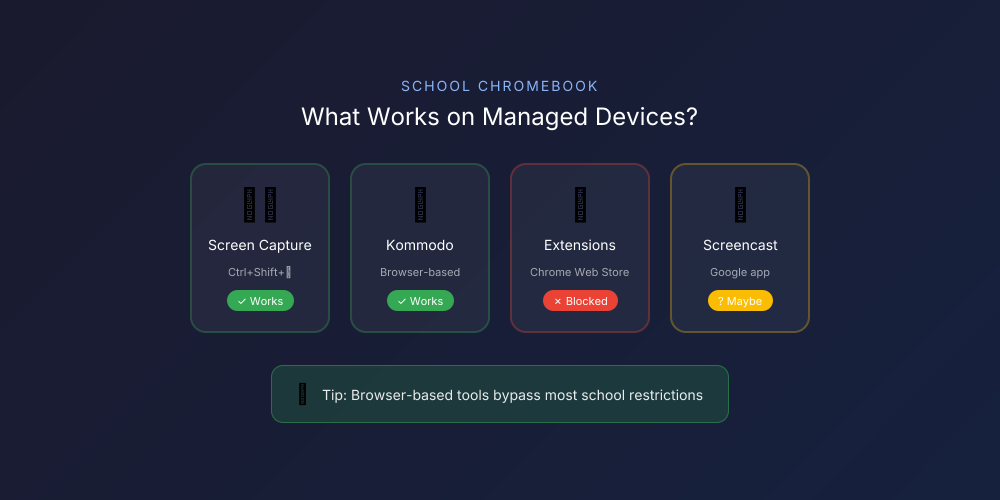
Recording on School or Managed Chromebooks
This is the #1 challenge for students and teachers. Here's what you need to know.
The problem: School IT departments often restrict what you can install or access. Chrome extensions may be blocked, and some built-in features can be disabled.
What typically works on managed Chromebooks:
| Tool | Usually Works? | Why |
|---|---|---|
| Screen Capture (Ctrl+Shift+Show Windows) | Yes | Part of Chrome OS |
| Screencast App | Sometimes | Can be disabled by admin |
| Chrome Extensions | Sometimes | Depends on school policy |
| Browser-based tools (Kommodo) | Yes | No installation needed |
If your school blocks everything:
-
Try the built-in Screen Capture first - Press Ctrl+Shift+Show Windows. This works on most managed devices since it's part of the operating system.
-
Use a browser-based recorder - Go to kommodo.ai/screen-recorder in Chrome. Since it runs in the browser (not as an extension), it bypasses most restrictions.
-
Ask your IT department - If you need the Screencast app for a class project, your admin can enable it for your account.
-
Use a personal device - If all else fails, record on your phone or a personal computer.
How to Convert WebM to MP4
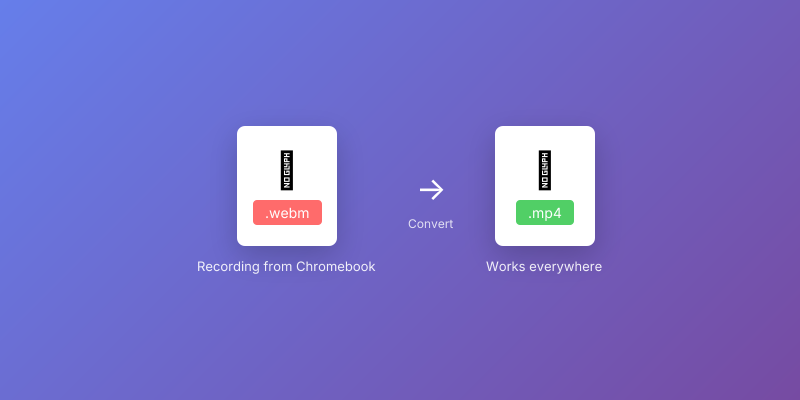
Chromebook recordings save as .webm files. This format works in Chrome, Google Drive, and most web apps, but some devices and video editors can't open it.
When you need to convert:
- Uploading to a platform that doesn't accept WebM
- Editing in software like iMovie or Premiere
- Sharing with someone who says "I can't open this file"
When you don't need to convert:
- Submitting to Google Classroom
- Sharing via Google Drive link
- Playing in any web browser
How to convert WebM to MP4:
Option 1: Online Converter (Easiest)
- Go to Kommodo WebM to MP4 Converter
- Drop your .webm file into the converter
- Conversion starts automatically
- Download the .mp4 file
Option 2: Chrome Extension
- Search the Chrome Web Store for a WebM to MP4 extension
- Open the extension and select your .webm file
- Click Convert
- Download the .mp4 file
Option 3: Linux on Chromebook (Advanced)
If you have Linux enabled, open Terminal and run:
ffmpeg -i recording.webm -c:v libx264 recording.mp4
Pro Tips for Better Chromebook Recordings
1. Check your storage before long recordings
Chromebook hard drives fill up fast. Before recording anything over 5 minutes, open the Files app and check your available space. Better yet, change your save location to Google Drive: press Ctrl+Shift+Show Windows, click Settings, then select a Drive folder. Your recordings upload automatically and won't eat local storage.
2. Convert WebM to MP4 before sharing (if needed)
Chromebook recordings save as .webm files, which some devices and apps can't play. If you're submitting to Google Classroom or sharing with classmates, .webm usually works fine. But if someone says "I can't open your video," use the WebM to MP4 Chrome extension to convert locally.
3. Use the Screencast app for lessons and tutorials
If you're on Chrome OS 104 or later, skip the basic recorder and open the Screencast app instead. You can draw on your screen while recording, and it automatically transcribes your voice. Perfect for teachers creating walkthroughs or students explaining their work.
4. Enable "Show clicks and keys" for tutorials
Teaching someone how to do something? Before you start recording, click the gear icon in the capture toolbar and turn on "Show clicks and keys." Every mouse click and keyboard shortcut will appear on screen, so viewers can follow along exactly.
5. Record a browser tab, not the full screen
If you're demonstrating a website or web app, choose "Window" mode and select just your browser. This hides your bookmarks bar, other tabs, and any embarrassing desktop icons. Cleaner video, less editing.
6. Test your audio with a 5-second clip first
Nothing worse than recording a 10-minute explanation and realizing your mic was muted. Record a quick test, play it back, and check that you can hear yourself clearly. If you need system audio (like sounds from a video), make sure "Device audio" is enabled in the capture settings.
Which Method Should You Use?
| If you need... | Use this |
|---|---|
| Fastest recording, no install | Screen Capture (Ctrl+Shift+Show Windows) |
| Instant sharing with a link | Kommodo |
| Drawing on screen while recording | Screencast App |
| Webcam overlay | Screencastify or Kommodo |
| Recordings on a managed/school Chromebook | Screen Capture or Kommodo (browser) |
| Unlimited time, no watermark | Kommodo or built-in tools |
| Automatic transcription | Screencast App or Kommodo |
For most Chromebook users, the built-in Screen Capture handles quick recordings, and Kommodo handles everything else with instant sharing and no limits.
Conclusion
Chromebooks have solid built-in screen recording that works without installing anything. Press Ctrl+Shift+Show Windows, click record, and you're done. For teachers and students on managed devices, this is often the only option, and it's good enough for most use cases.
When you need more, like instant sharing, drawing on screen, or guaranteed access on locked-down school Chromebooks, Kommodo fills the gap with no time limits or watermarks.
Start Recording with Kommodo →
Related Guides
- How to Screen Record on Mac
- How to Screen Record on Windows
- How to Screen Record on Android
- Best Free Online Screen Recorders
Compare Screen Recording Tools
- Kommodo vs Loom - Free unlimited recording vs 5-minute limits
- Kommodo vs Scribe - Video + auto-generated SOPs
- Kommodo vs Tango - Workflow documentation comparison
About the author

Related Articles

How to Screen Record on Mac: 4 Free Methods (2026 Guide)
Learn how to screen record on Mac in under 60 seconds. 4 free methods: QuickTime, Screenshot Toolbar, Kommodo, and OBS with step-by-step instructions.

How to Screen Record: Complete Guide for Any Device (2026)
Learn how to screen record on any device. Complete guide for Mac, Windows, iPhone, Android, and Chromebook with free tools and keyboard shortcuts.

12 Best Screen Recorders in 2026 (Free & Paid, Tested)
We tested the 12 best screen recorders head-to-head for teams and solo creators. Compare features, pricing, and honest pros/cons — including free options with AI.