
How to Screen Record: Complete Guide for Any Device (2026)
Need to record your screen? Whether you're creating a tutorial, documenting a bug, recording a meeting, or sharing feedback, this guide has you covered.
We'll walk through screen recording on every major platform—Mac, Windows, iPhone, Android, and Chromebook—using free built-in tools and professional options. By the end, you'll know exactly how to capture your screen in any situation.
Quick Start: Record Your Screen in 60 Seconds
Here's the fastest way to start recording on each platform:
| Platform | Keyboard Shortcut / Action | What It Does |
|---|---|---|
| Mac | Command+Shift+5 |
Opens Screenshot Toolbar |
| Windows 10/11 | Windows+G |
Opens Xbox Game Bar |
| iPhone | Control Center > Record | Starts screen recording |
| Android 11+ | Quick Settings > Screen Record | Starts screen recording |
| Chromebook | Ctrl+Shift+Show Windows |
Opens screen capture tool |
| Any browser | kommodo.ai/screen-recorder | Browser-based recording |
Now let's dive deeper into each platform.
How to Screen Record on Mac
Mac offers two built-in methods, plus several third-party options for more features.
Method 1: Screenshot Toolbar (Fastest)
Keyboard shortcut: Command+Shift+5
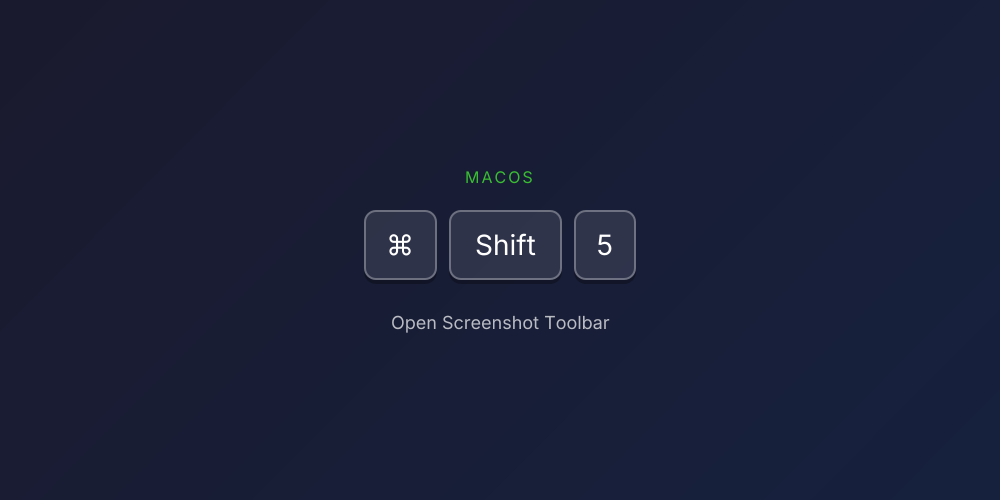
- Press Command+Shift+5 to open the toolbar
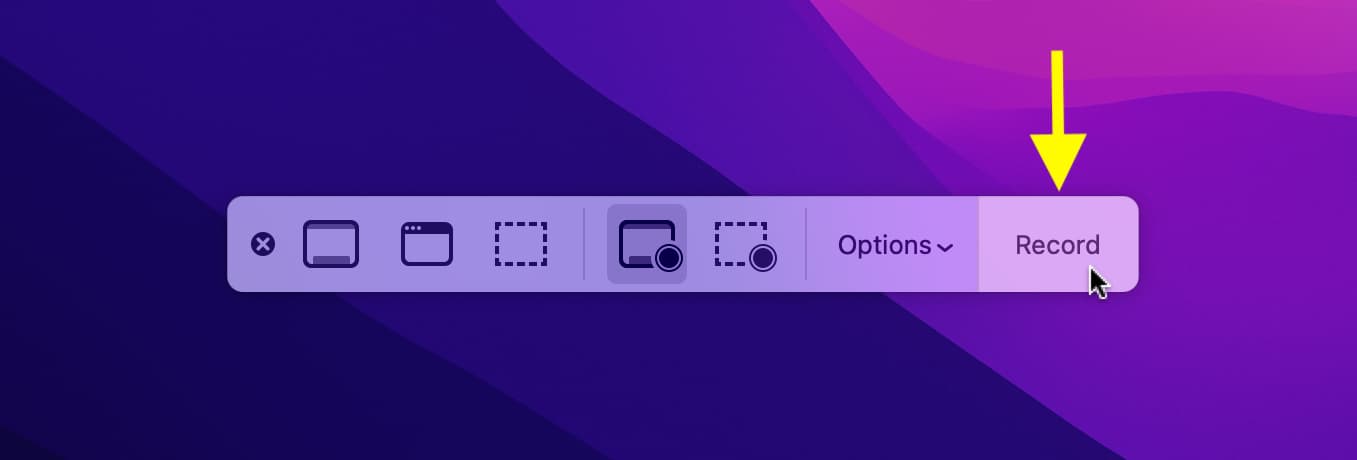
- Click Record Entire Screen or Record Selected Portion
- Click Options to set microphone and save location
- Click Record to start
- Click Stop in the menu bar when done
When recording, you'll see a stop button in the menu bar:
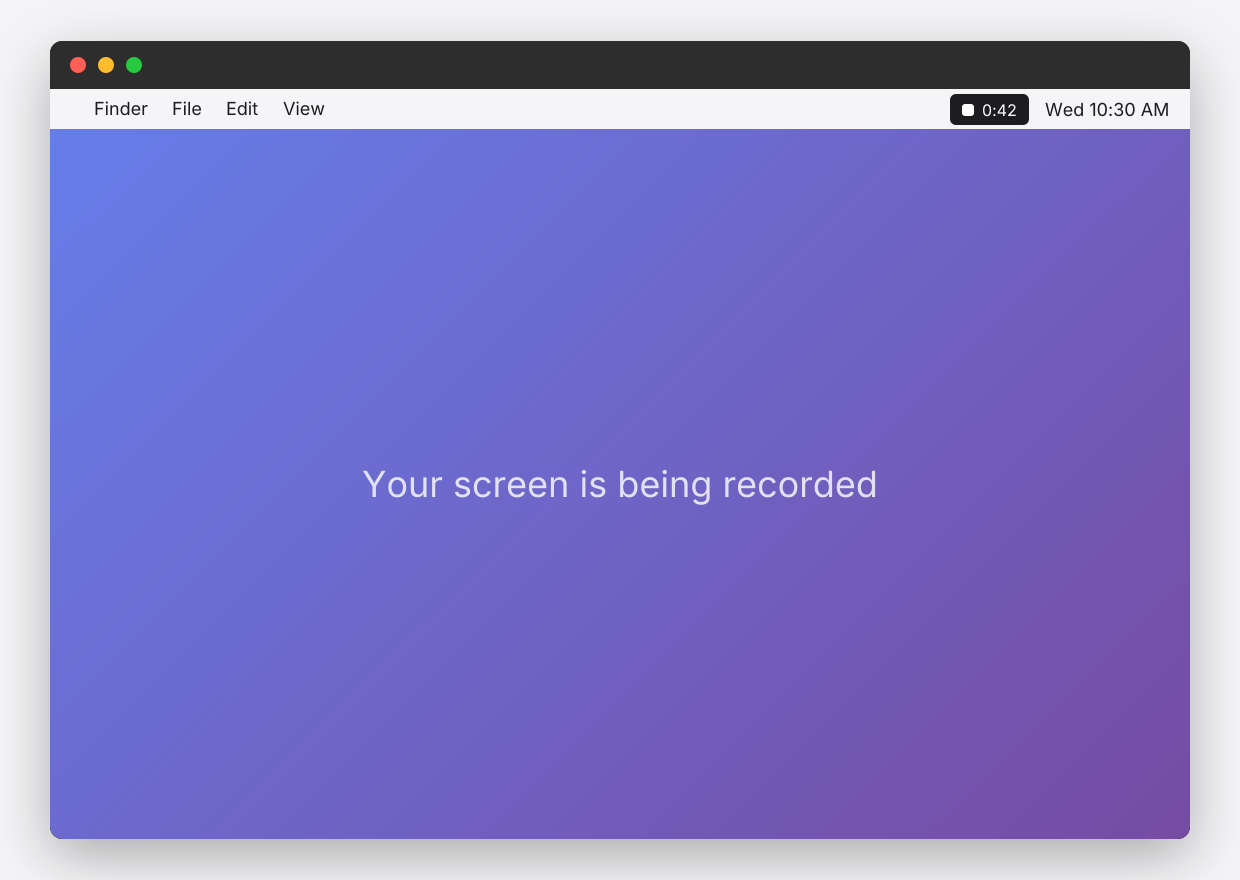
Your recording saves to the Desktop by default.
Method 2: QuickTime Player
- Open QuickTime Player from Applications
- Click File > New Screen Recording
- Click the dropdown arrow to select microphone
- Click Record, then click anywhere to record full screen or drag to select an area
- Click Stop in the menu bar when done
Recording with Audio on Mac
Mac can easily record your microphone, but system audio (sounds from apps) requires additional setup:
- Microphone only: Select your mic in Screenshot Toolbar or QuickTime options
- System audio: Use Kommodo for browser tab audio, or install BlackHole + OBS for full system audio
Mac Recording Tips
- Close unnecessary apps and browser tabs
- Enable Do Not Disturb to prevent notification popups
- Use
Command+Control+Escapeto stop recording quickly
Want instant sharing? Try Kommodo's browser recorder—no download needed, and you get a shareable link immediately.
For a complete guide, see How to Screen Record on Mac.
How to Screen Record on Windows
Windows 10 and 11 include Xbox Game Bar, a free recording tool that works for more than just games.
Method 1: Xbox Game Bar (Built-in)
Keyboard shortcut: Windows+G
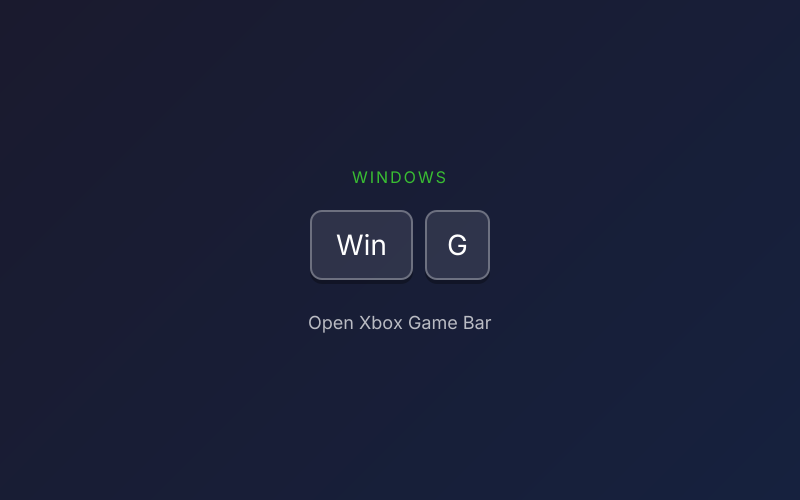
- Press Windows+G to open Xbox Game Bar
- Click the Capture widget (camera icon)
- Click the Record button (circle) or press Windows+Alt+R
- A small capture status appears—click Stop when done
- Your recording saves to Videos > Captures
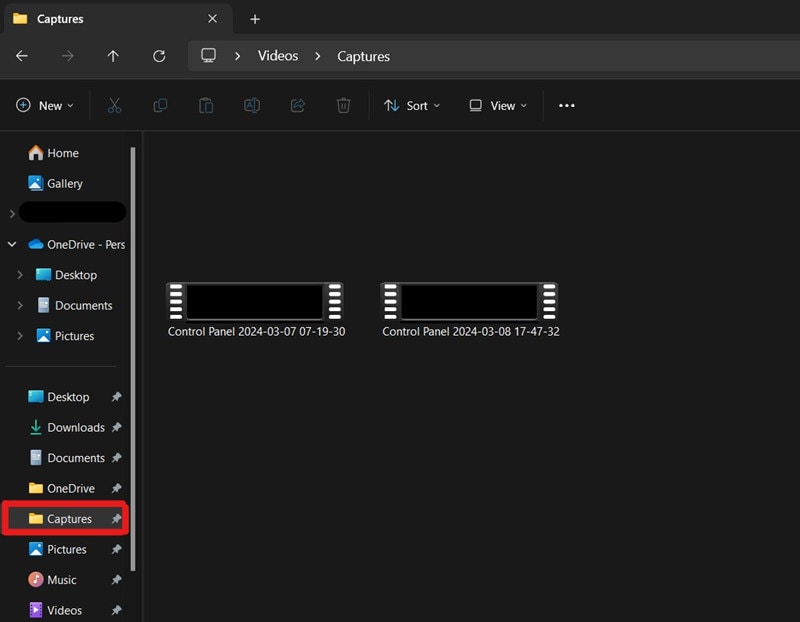
Limitations: Xbox Game Bar cannot record the desktop or File Explorer—only application windows.
Method 2: Snipping Tool (Windows 11)
Windows 11's Snipping Tool now includes screen recording:
- Search for Snipping Tool in the Start menu
- Click the video camera icon
- Click New and select the area to record
- Click Record to start
- Click Stop when done
Note: Snipping Tool does not record audio.
Recording with Audio on Windows
- Game/app audio: Xbox Game Bar automatically captures audio from the app you're recording
- Microphone: Enable in Xbox Game Bar settings (Settings > Capturing > Record audio)
- System-wide audio: Use Kommodo or OBS Studio
Windows Recording Tips
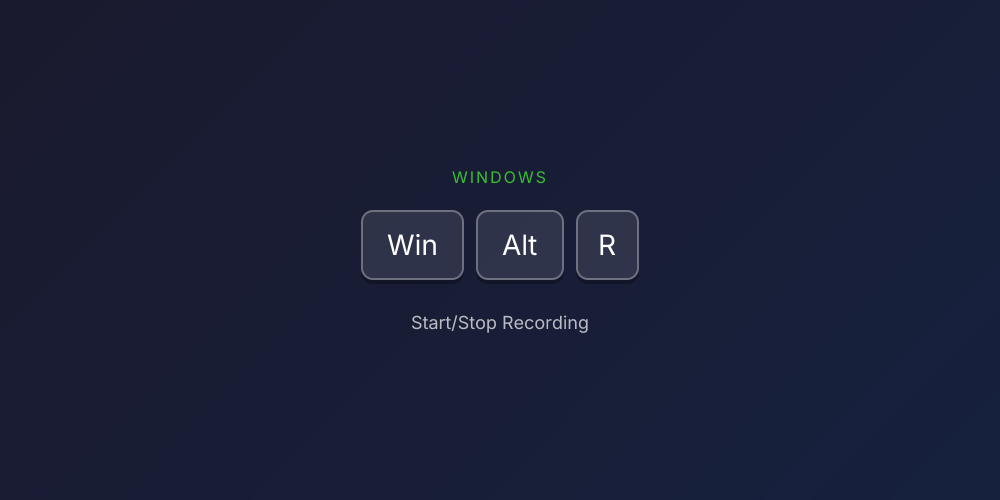
- Use
Windows+Alt+Rto start/stop recording quickly - Adjust quality in Xbox Game Bar settings if files are too large
- For professional recordings, consider Kommodo or OBS Studio
For a complete guide, see How to Screen Record on Windows.
How to Screen Record on iPhone
iPhone has a built-in screen recorder that captures everything on your screen, including audio.
Setup (One-Time)
- Go to Settings > Control Center
- Tap + next to Screen Recording to add it
Recording
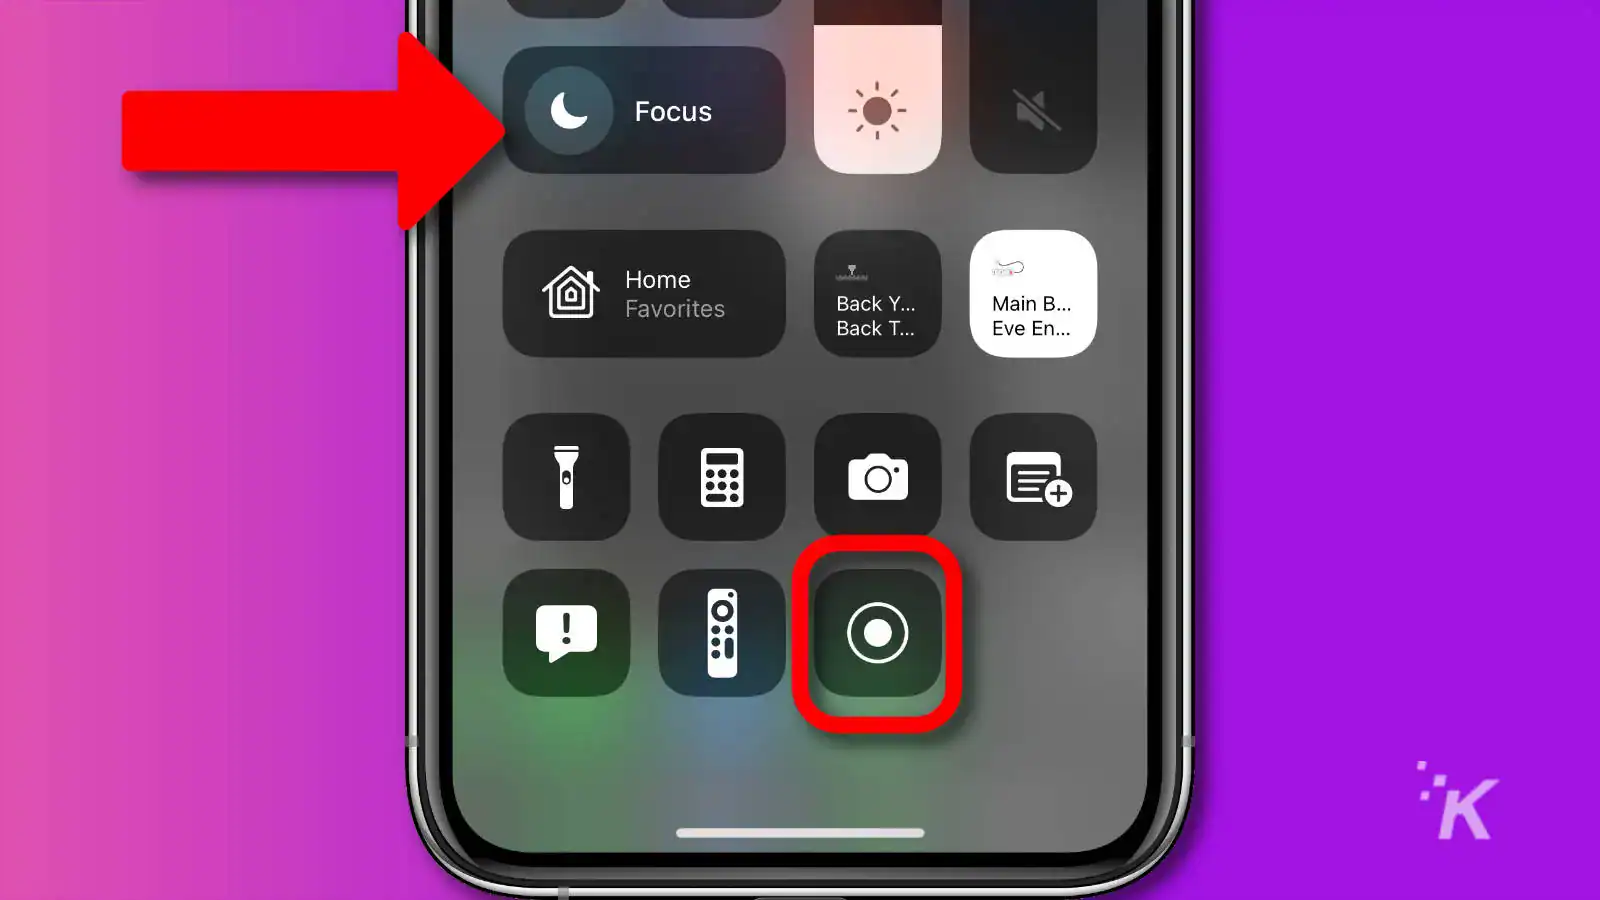
- Open Control Center (swipe down from top-right on iPhone X+, or swipe up from bottom on older iPhones)
- Tap the Record button (circle icon)
- Wait for the 3-second countdown
- Record your content
- Tap the red status bar at the top and tap Stop
Your recording saves to the Photos app.
Recording with Audio
- Microphone (your voice): Long-press the Record button in Control Center and tap Microphone to enable
- System audio (app sounds): Automatically captured unless the app blocks it
- Note: Some apps (banking, streaming) block screen recording
iPhone Recording Tips
- Enable Do Not Disturb to prevent calls and notifications
- Make sure you have enough storage (check Settings > General > iPhone Storage)
- Trim recordings in the Photos app before sharing
How to Screen Record on Android
Android 11 and later include a native screen recorder. For older versions, use a third-party app.
Built-in Recorder (Android 11+)
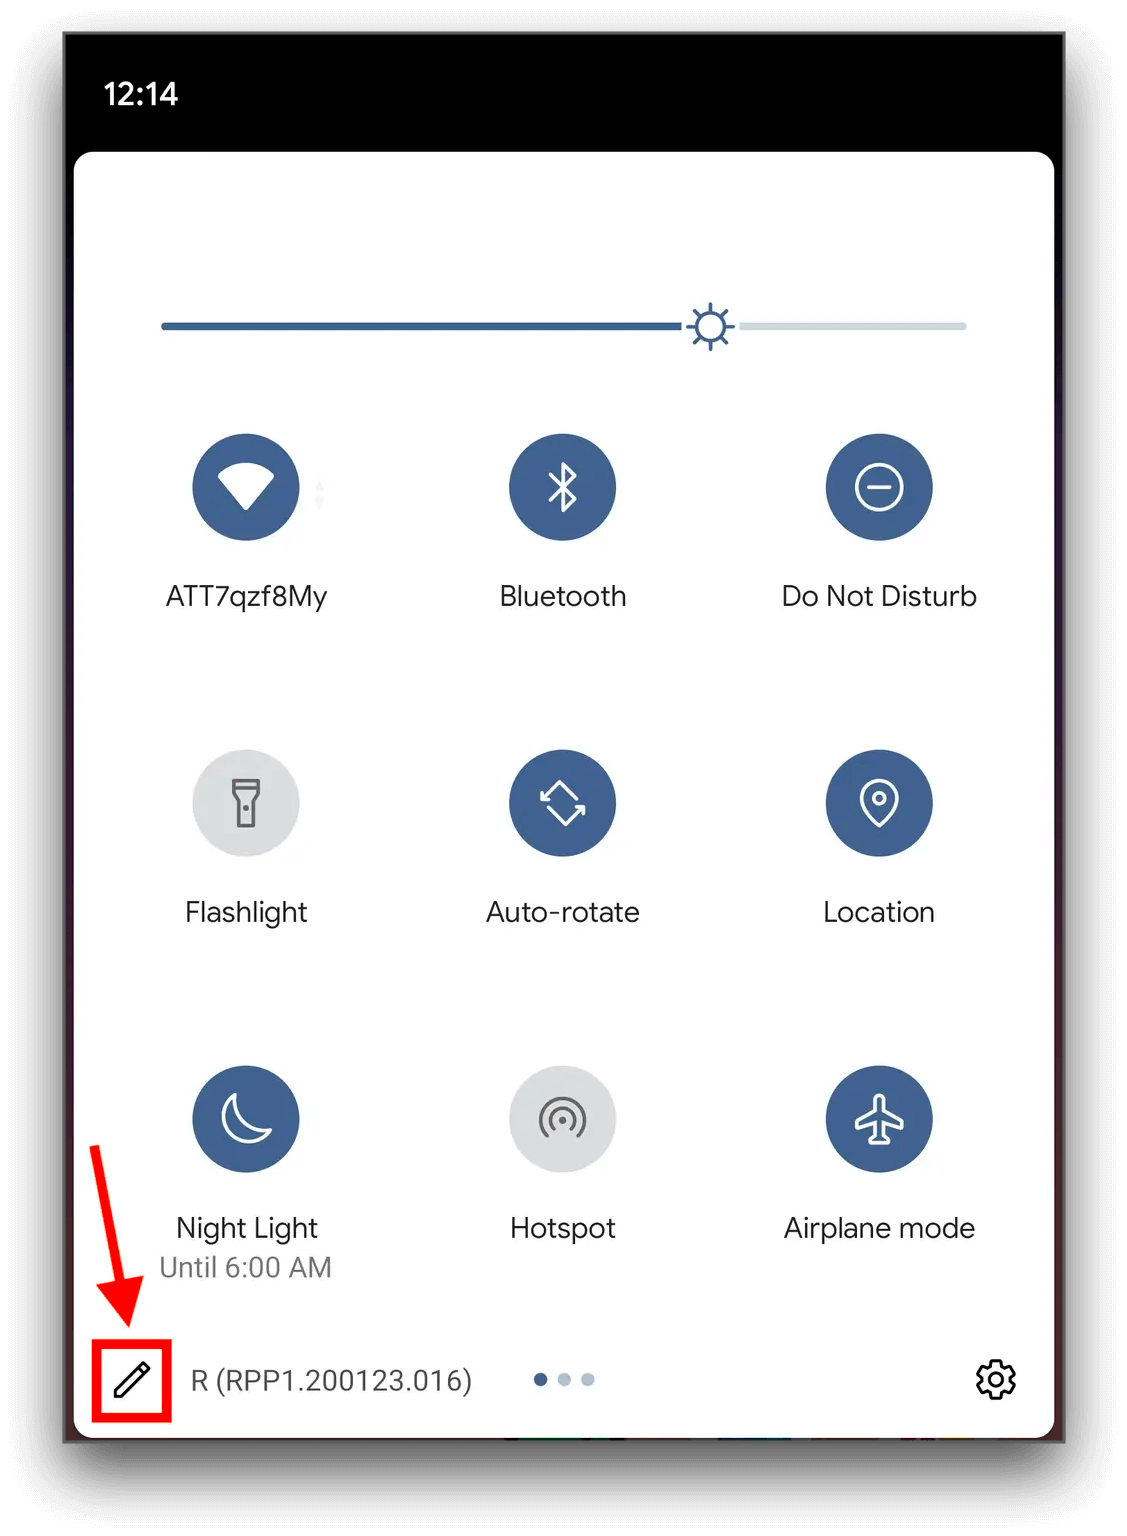
- Swipe down twice from the top of your screen
- Tap Screen Record (add it from the edit menu if needed)
- Choose audio source: Device audio, Microphone, or both
- Tap Start
- Tap Stop in the notification bar when done
Your recording saves to the Gallery in a "Screen recordings" folder.
For Older Android Versions
Install a free app like:
- AZ Screen Recorder — Popular, feature-rich, supports 4K
- ADV Screen Recorder — Completely free, no ads
- Kommodo — Best for instant sharing
Recording with Audio on Android
- Device/internal audio: Available on Android 10+ (select when starting recording)
- Microphone: Always available
- Both: Select "Device audio and microphone" if available
For a complete guide, see How to Screen Record on Android.
How to Screen Record on Chromebook
Chromebooks have a built-in screen capture tool for screenshots and recordings.
Using the Built-in Tool
Keyboard shortcut: Ctrl+Shift+Show Windows (Show Windows is the key with a rectangle and two lines)
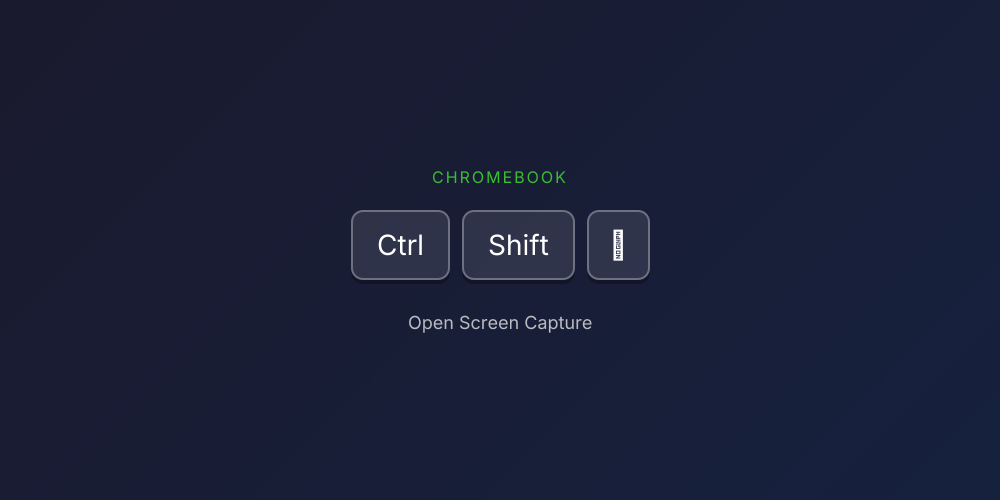
- Press Ctrl+Shift+Show Windows
- Click Screen record (video camera icon)
- Choose to record your full screen, a window, or a partial area
- Click anywhere to start recording
- Click Stop in the shelf (taskbar) when done
Your recording saves to the Downloads folder.
Recording with Audio on Chromebook
The built-in tool does not record audio. For audio recording, use:
- Kommodo — Browser-based, records tab audio and microphone
- Screencastify — Chrome extension with audio support
Chromebook Recording Tips
- Use Kommodo if you need audio or instant sharing
- Check storage space before long recordings
- Files save as .webm format—most video players support this
How to Screen Record in a Browser (Any Device)
Don't want to install anything? Browser-based screen recorders work on any device with Chrome, Firefox, Edge, or Safari.
Using Kommodo (Recommended)
Kommodo's browser recorder offers instant recording and sharing with no signup:
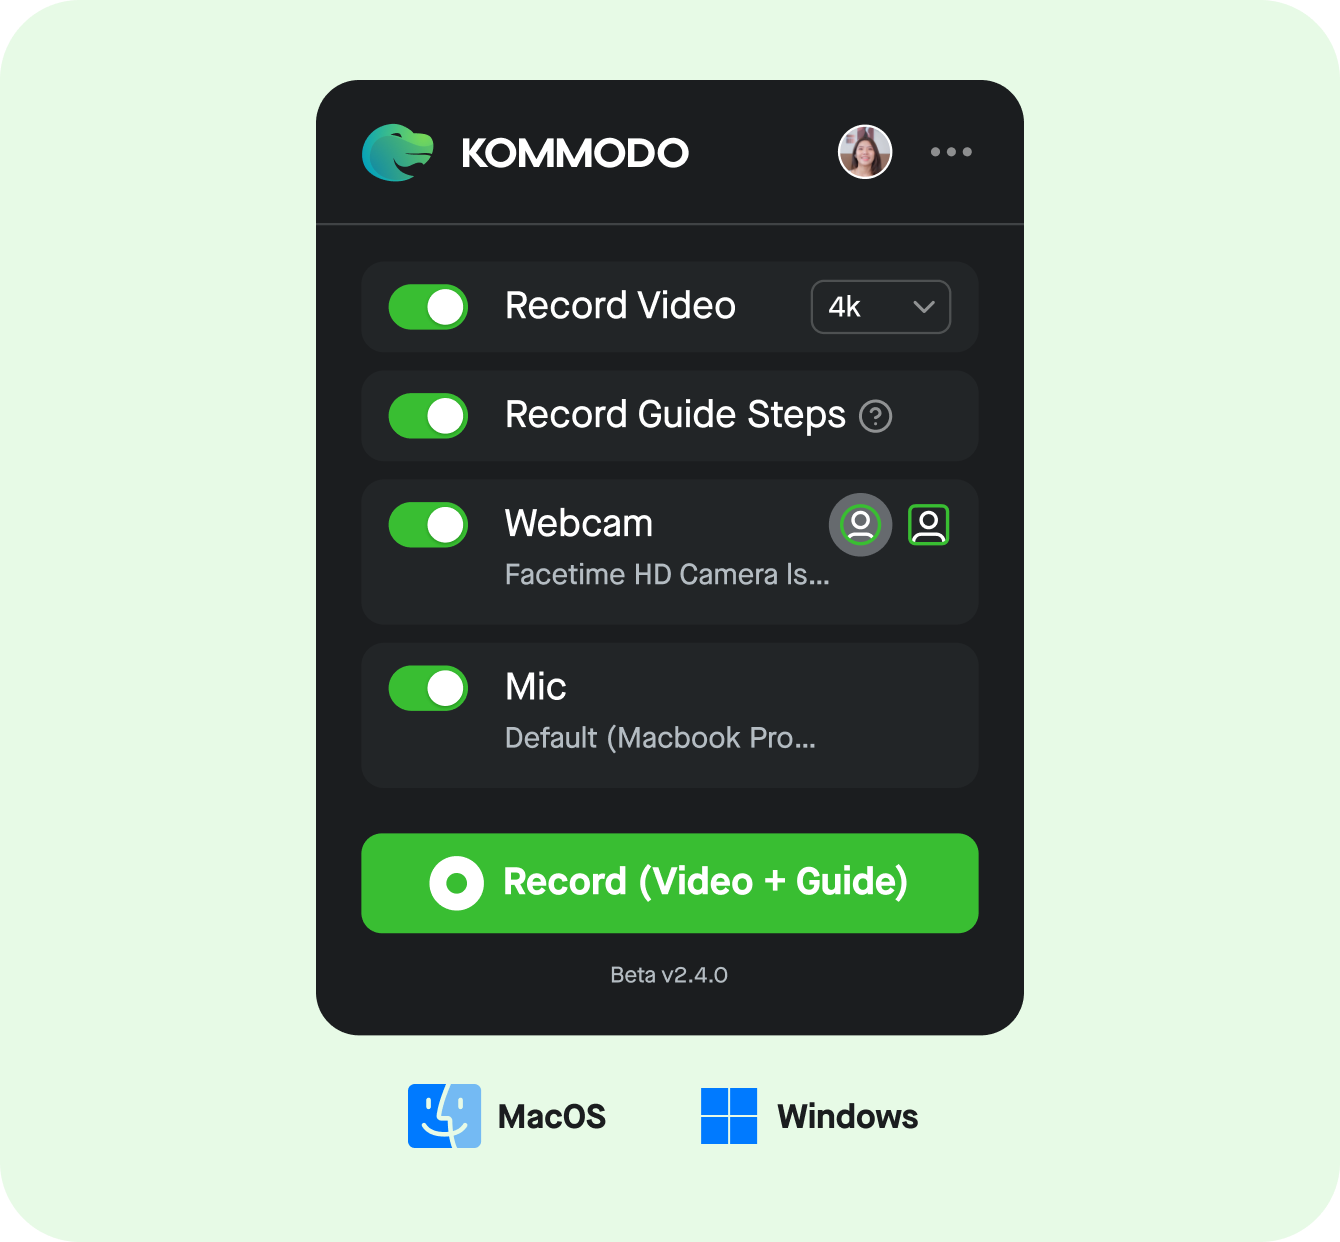
- Go to kommodo.ai/screen-recorder
- Click Record
- Choose what to share: entire screen, window, or browser tab
- Enable/disable webcam and microphone
- Click Share to start recording
- Click Stop when finished
- Copy your instant shareable link
Why use browser recording?
- Works on any device (Mac, Windows, Chromebook, etc.)
- No installation required
- Instant shareable links
- Records tab audio (sounds from the tab you're sharing)
- Webcam overlay for presentations
How to Screen Record with Audio
Recording audio is one of the most common challenges. Here's a breakdown:
Microphone Audio (Your Voice)
Available on all platforms—just enable the microphone option before recording:
- Mac: Click Options in Screenshot Toolbar, select microphone
- Windows: Enable in Xbox Game Bar settings
- iPhone: Long-press Record button, tap Microphone
- Android: Select Microphone when starting recording
- Browser: Enable microphone when prompted
System Audio (App Sounds, Game Audio, Music)
This varies by platform:
| Platform | System Audio Support |
|---|---|
| Mac | No (requires third-party tool) |
| Windows | Yes (Xbox Game Bar records app audio) |
| iPhone | Yes (automatic) |
| Android 10+ | Yes (select Device audio) |
| Browser (Kommodo) | Yes (tab audio when sharing a tab) |
Mac users: For system audio, use Kommodo to record browser tab audio, or set up BlackHole + OBS for full system audio capture.
How to Record Your Screen and Webcam Together
Picture-in-picture recording (showing your face while recording your screen) is useful for tutorials, demos, and video feedback.
Tools That Support Webcam Overlay
| Tool | Platform | Free |
|---|---|---|
| Kommodo | Any (browser) | Yes |
| Loom | Any (browser/app) | Limited |
| OBS Studio | Mac, Windows, Linux | Yes |
| QuickTime | Mac | No (screen only) |
| Xbox Game Bar | Windows | No (screen only) |
For most users, Kommodo is the easiest option—browser-based, free, with instant sharing.
Recording Tips for High-Quality Videos
Before Recording
- Plan your content — Know what you'll show and say
- Close unnecessary apps — Reduces clutter and improves performance
- Clean your desktop — Remove personal files if they'll be visible
- Enable Do Not Disturb — Prevents notifications from appearing
- Test your audio — Record a few seconds and play it back
- Check lighting (if using webcam) — Face a light source
During Recording
- Speak clearly and at a steady pace
- Move your cursor deliberately — Quick movements are hard to follow
- Pause before and after important actions — Gives viewers time to process
- Use keyboard shortcuts when possible — Easier to explain
- If you make a mistake, pause, then restart that section (edit later)
After Recording
- Review before sharing — Catch any mistakes
- Trim dead air at the beginning and end
- Add context with a clear title and description
- Consider captions for accessibility
- Use a shareable link (like Kommodo) instead of large file attachments
Screen Recording for Common Use Cases
Bug Reports and Tech Support
- What to include: Steps to reproduce, error messages, expected vs. actual behavior
- Best tools: Built-in recorders, Kommodo for instant sharing
- Tip: Narrate what you're doing as you record
Tutorials and How-To Videos
- What to include: Clear intro, step-by-step walkthrough, conclusion
- Best tools: Kommodo for quick tutorials, Camtasia for professional editing
- Tip: Zoom in on important UI elements, use webcam for personal connection
Recording Meetings
- What to include: The meeting content (with consent!)
- Best tools: Zoom/Teams built-in recording, or Kommodo
- Tip: Always inform participants before recording
Giving Feedback
- What to include: Specific examples, constructive suggestions
- Best tools: Kommodo for quick video feedback with instant sharing
- Tip: Keep it focused—under 5 minutes is ideal
Team Communication
- What to include: Context, action items, questions
- Best tools: Kommodo, Loom
- Tip: Start with the main point, add details after
Troubleshooting Common Issues
"Screen recording is not allowed" / Permission Denied
- Mac: Go to System Preferences > Security & Privacy > Privacy > Screen Recording, enable your recording app
- Windows: Run the app as administrator, or check Windows Settings > Privacy > Screen Recording
- Mobile: Some apps block recording (banking, streaming apps)
No Audio in Recording
- Verify you selected an audio source before recording
- Check app permissions for microphone access
- Ensure your device isn't muted
- For system audio on Mac, use a third-party tool
Recording is Laggy or Choppy
- Close other applications
- Lower the recording resolution
- Disable hardware acceleration if available
- Ensure your device isn't overheating
File Size Too Large
- Record at 1080p instead of 4K
- Use 30 fps instead of 60 fps
- Trim unnecessary content
- Compress the video before sharing (or use Kommodo for automatic optimization)
Can't Find My Recording
- Mac: Check Desktop or the location set in Screenshot Toolbar options
- Windows: Check Videos > Captures folder
- iPhone: Check Photos app
- Android: Check Gallery > Screen recordings
- Kommodo: Check your dashboard or copy the link provided after recording
Frequently Asked Questions
What is the easiest way to screen record?
The easiest method depends on your device. On Mac, press Command+Shift+5. On Windows 10/11, press Windows+G. On iPhone, add Screen Recording to Control Center. On Android 11+, use Quick Settings. For any device, use Kommodo's browser recorder.
How do I screen record for free?
Every major platform includes free tools. Mac has QuickTime and Screenshot Toolbar. Windows has Xbox Game Bar. iPhone and Android have built-in recorders. Kommodo offers free unlimited recording with no watermarks on any device.
How do I screen record with audio?
Enable the microphone option in your recording tool for voice. For system audio: iPhone and Android 10+ record it automatically, Windows Game Bar captures app audio, and Mac requires third-party tools like Kommodo or OBS.
Can I screen record a Zoom or Teams meeting?
Yes, but get consent first. Use your device's built-in recorder or Kommodo. Note that meeting hosts may restrict the built-in Zoom/Teams recording feature.
How long can I screen record?
Built-in tools typically have no time limit—only your storage space. Some third-party tools have limits (Loom free: 5 min, Screencastify free: 30 min). Kommodo and OBS offer unlimited recording.
How do I screen record and show my face?
Use a tool with webcam overlay support like Kommodo, Loom, or OBS Studio. Built-in Mac and Windows tools don't support simultaneous webcam recording.
Start Screen Recording Now
You've learned how to screen record on every major platform:
- Mac: Command+Shift+5 or QuickTime
- Windows: Xbox Game Bar (Windows+G)
- iPhone: Control Center > Screen Recording
- Android: Quick Settings > Screen Record
- Chromebook: Ctrl+Shift+Show Windows
- Any browser: Kommodo
For most users, we recommend starting with your device's built-in tool for basic recordings, and Kommodo when you need instant sharing, webcam overlay, or audio from browser tabs.
Ready to record? Choose your platform above, or try Kommodo's browser recorder to start capturing in seconds.
Related guides:
- How to Screen Record on Mac — Detailed Mac guide
- How to Screen Record on Windows — Windows-specific tips
- How to Screen Record on Android — Android app comparison
- Best Free Screen Recorders — Full tool comparison
- Best Online Screen Recorders — Browser-based options
About the author

Related Articles

How to Screen Record on Mac: 4 Free Methods (2026 Guide)
Learn how to screen record on Mac in under 60 seconds. 4 free methods: QuickTime, Screenshot Toolbar, Kommodo, and OBS with step-by-step instructions.

How to Screen Record on Chromebook: 4 Methods (2026 Guide)
Record your Chromebook screen using the built-in Screen Capture tool (Ctrl+Shift+Show Windows) or browser-based recorders. 4 free methods with step-by-step instructions for students, teachers, and managed devices.

12 Best Screen Recorders in 2026 (Free & Paid, Tested)
We tested the 12 best screen recorders head-to-head for teams and solo creators. Compare features, pricing, and honest pros/cons — including free options with AI.